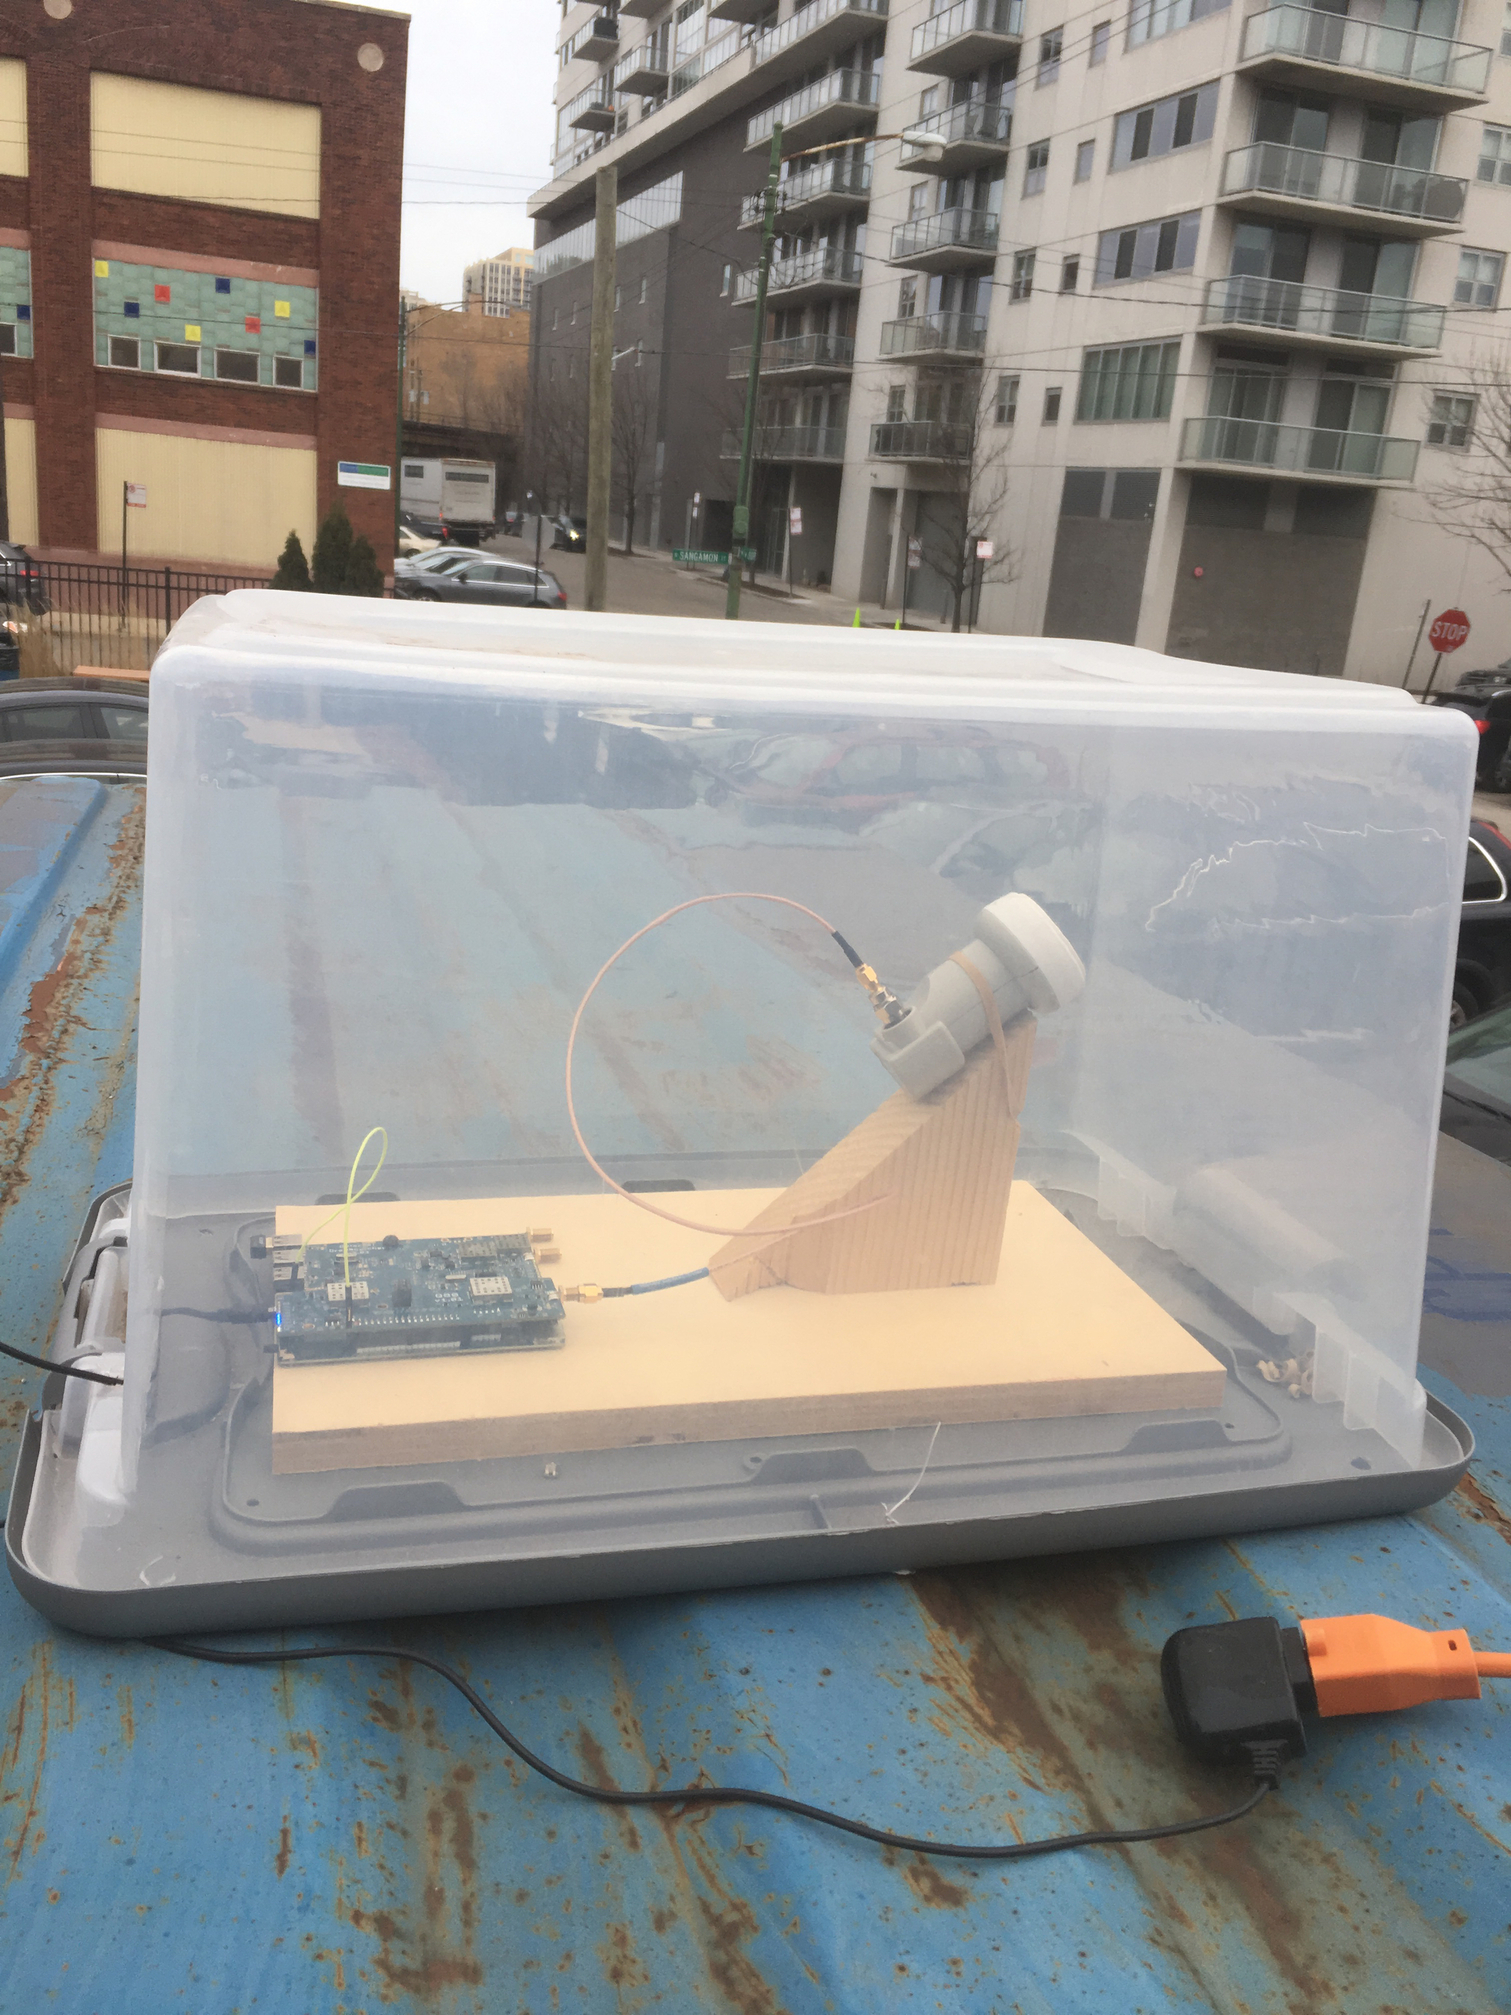
I have about 30 of the adjustable bases that were from some kind of light system, it has a 120V AC to 12V DC power supply in the base to run the motors, and a wireless remote for positioning…
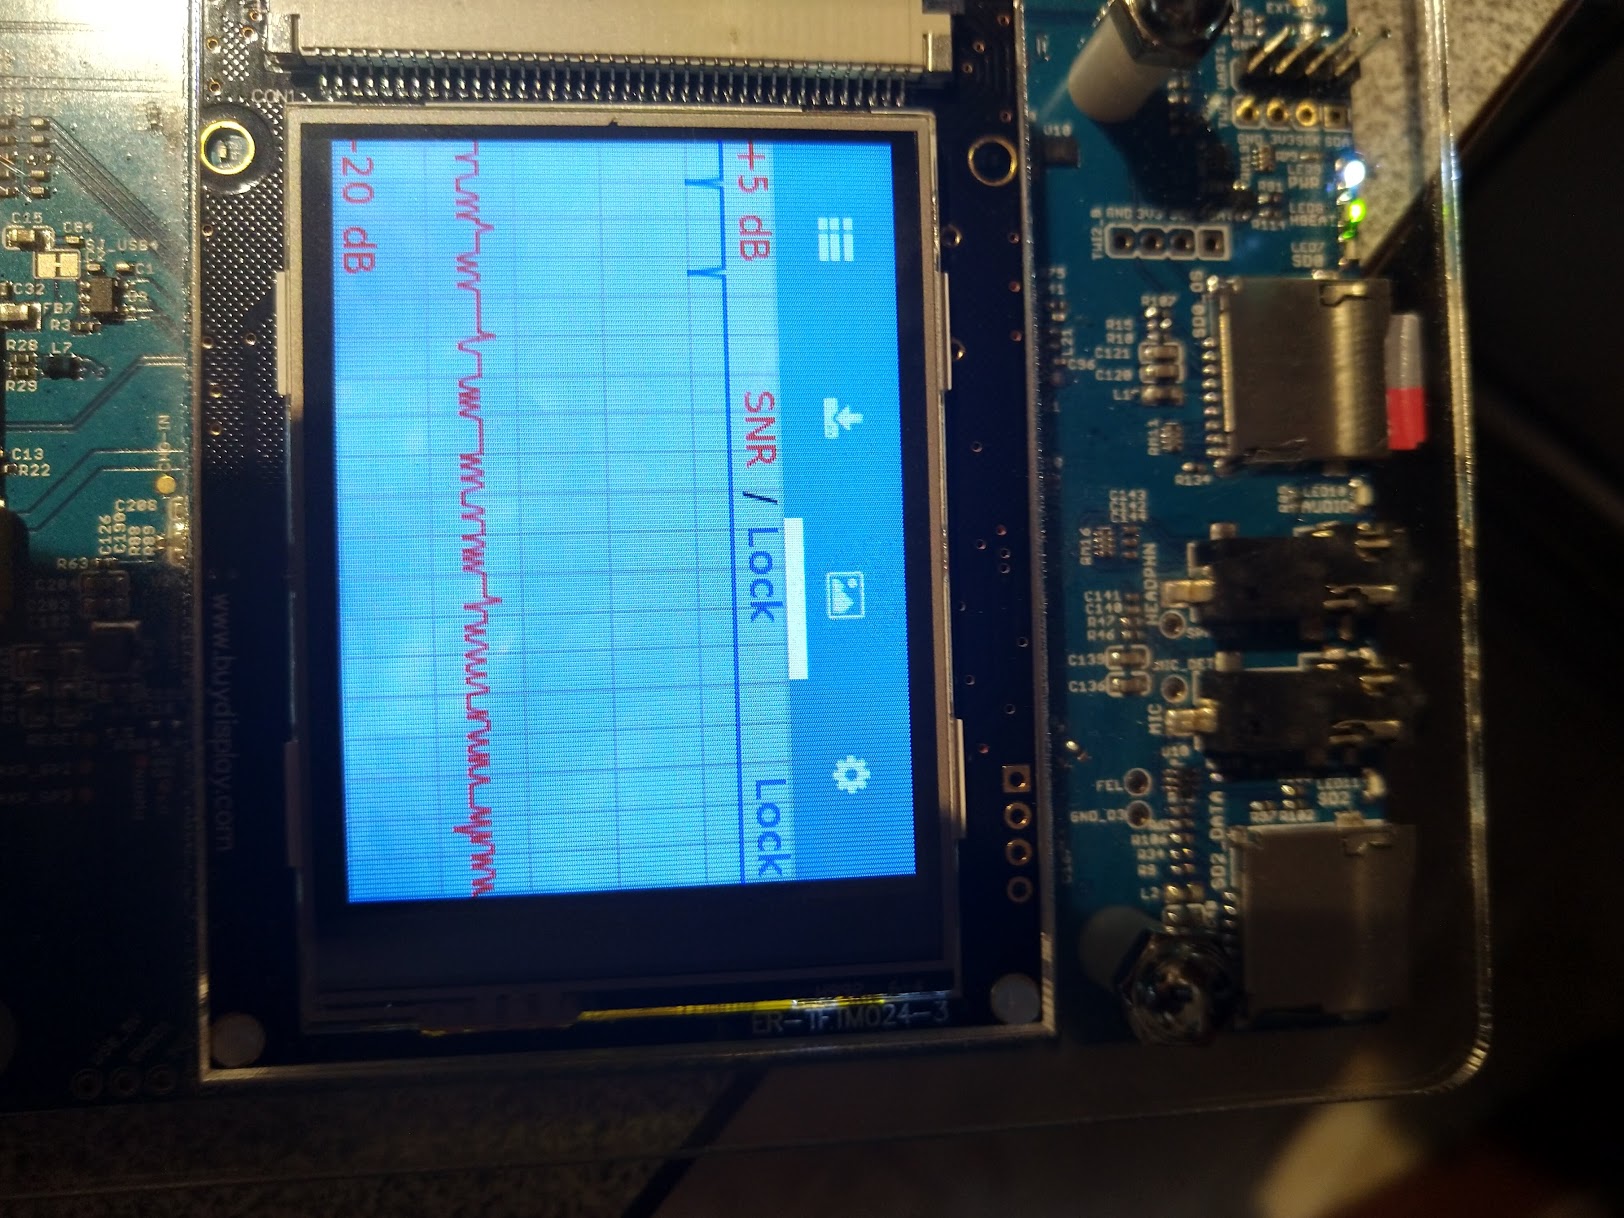
Automation is planned using the API app i built earlier peaking on SNR… Ill have to add a mag sensor to make sure its actually pointed in the relative direction of the sat before peaking, but thats an easy add…
Edit: i should clarify that i already had the adjustable base so the cost is the dome and fitting accessories and small parts…
Local hardware stores might have them. Ask for “electrical installation box” or “junction box”. For water proof the IP rating should be 65. My box is a bit small, so here’s bigger/better example in Amazon:
Availability varies in which country you are, but lical electrical supplies shop is the best choice…
i had been thinking the same thing… but what had also come to mind was… could the glass ball be used to make a parabola or offset focus for an antenna. another good example is a beach ball.
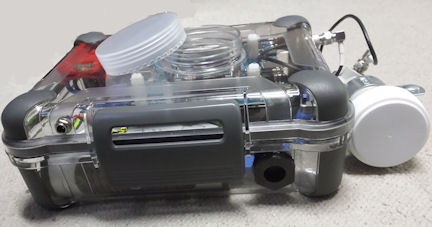
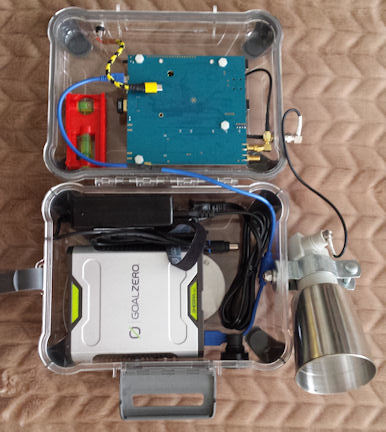
The following pictures and narrative show my DreamCatcher 3.03 in it’s portable home. The unit was developed with a compass, levels, and a rough elevation scale so that it can be turned on, placed on the ground, and knowing the satellite’s parameters, quickly acquire and begin receiving Othernet data without the use of any outside measuring instruments.
The box is available at Wal-Mart in the sporting goods section as an “Outdoor Products, Extreme Weather, IPX6 Tested, Large Watertight Case ($19.00 US). The levels are made from a very inexpensive hardware store “torpedo” level ($2.40 US), and the compass is a small unit purchased from a sporting goods store ($1.89 US). The LNB mounting is a 1-1/4” (40mm) EMT Conduit clamp. The “view port” for the LCD screen is the top of a cosmetics jar, available at a travel shop ($2.00 US).
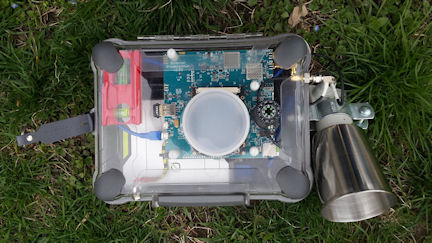
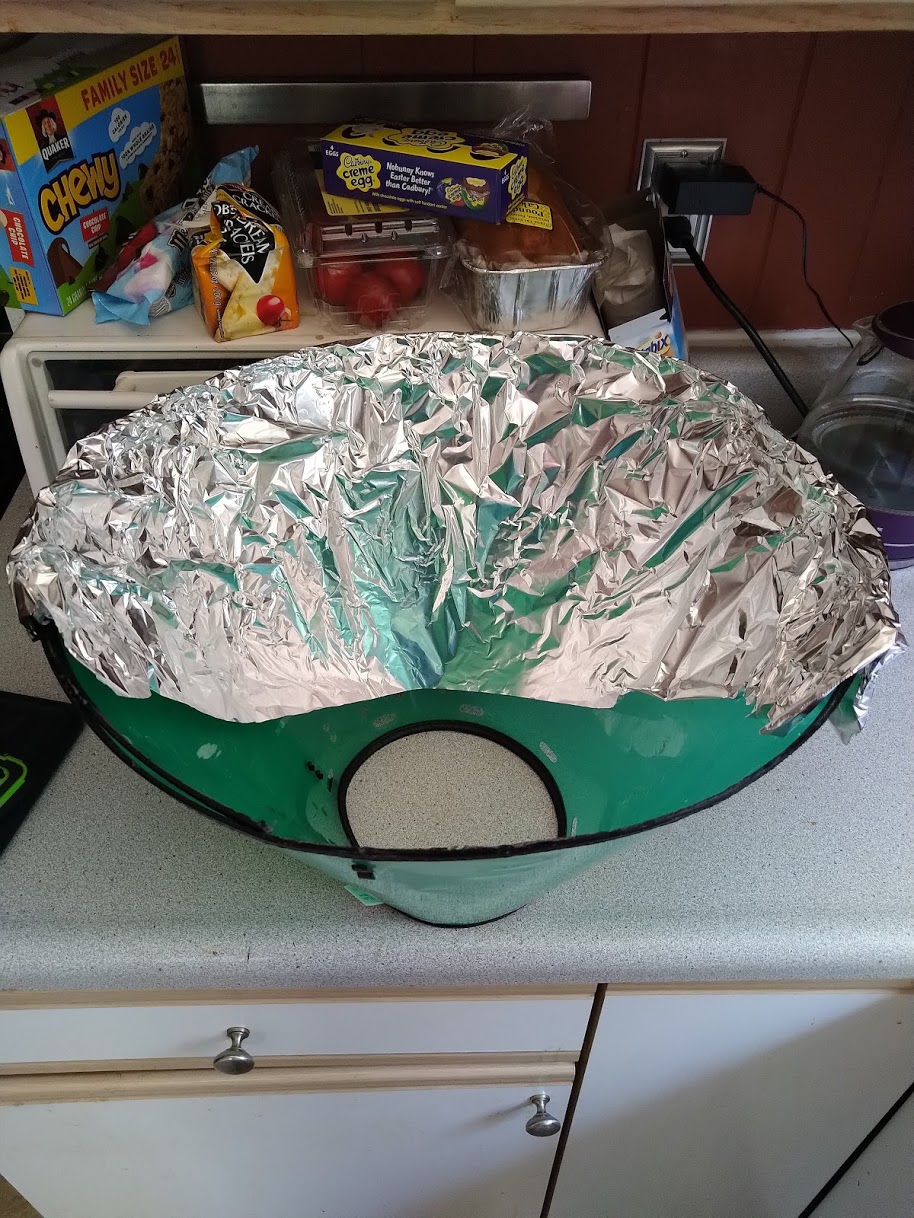
The power supply is a Goal-Zero Sherpa 50 (5300 mAh), which is supported or charged by an AC power unit, and/or a Goal Zero Nomad 14 Solar panel. This unit will operate approximately five hours without needing a re-charge. The power unit has been tested to operate at above 40% charge on an all-day operation for over 12 hours continuously, with the Sherpa and the Nomad working together as a UPS unit. I plagiarized the collapsable-cup ($4.75 US) cone for the LNB from @kenbarbi. This cone provides 3 to 5 better SNR than the bare LNB.
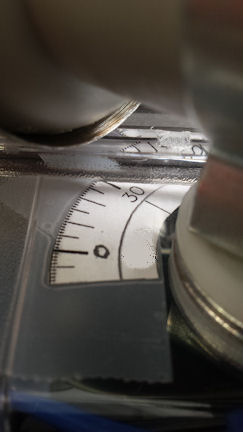
(View is from the bottom) The scale is difficult to see in the photograph, but is taped to the inside of the case. It is an elevation scale of zero to ninety degrees, the horizon being 0°, but only shows the numbers for 0, 30, 60, and 90, with division lines of each 5 and 10 degrees between. The setting shown is about 36° above the horizon. There is no pointer on the LNB mounting, but it could be assumed to be the center of the edge of the metal nearest the scale.
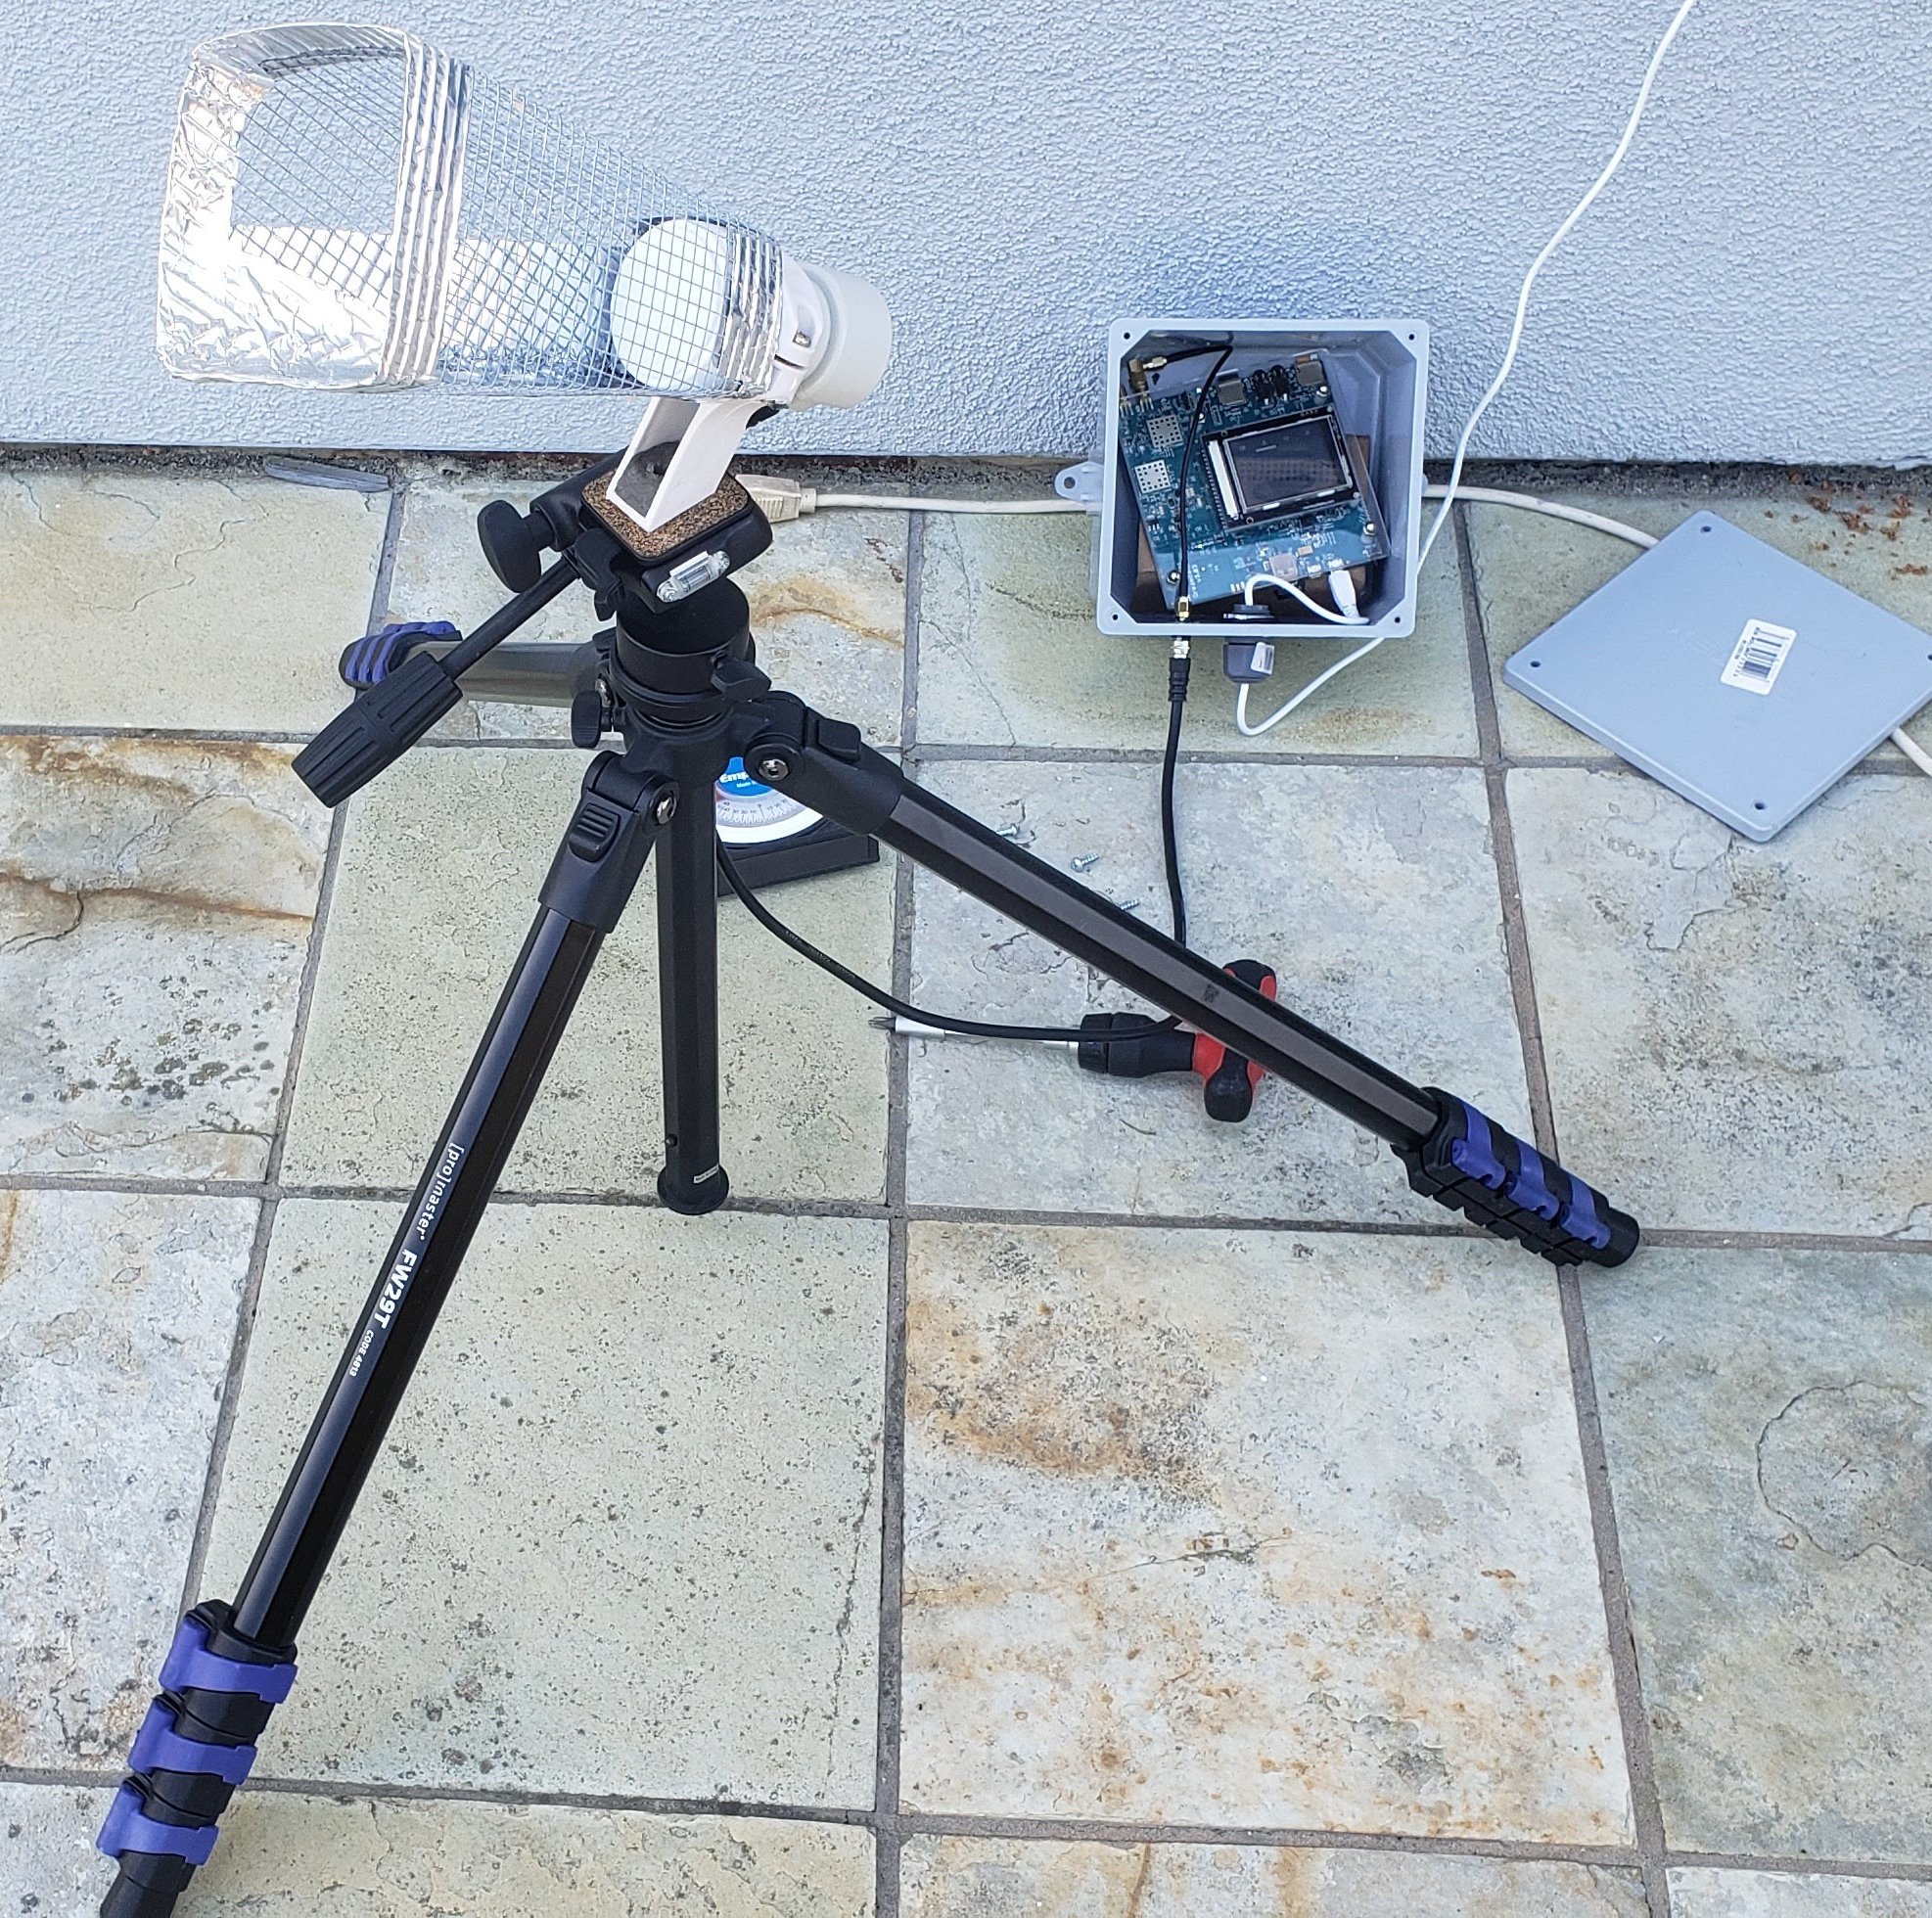
Maverick LNB with a 1/4" mesh horn mounted in a generic LNB holder. I filled the base with steel reinforced epoxy, then drilled and tapped a 1/4-20 hole so that it could screw on to a tripod. The mesh horn has been lightly taped with aluminum tape just to cover the sharp edges of the wire mesh.
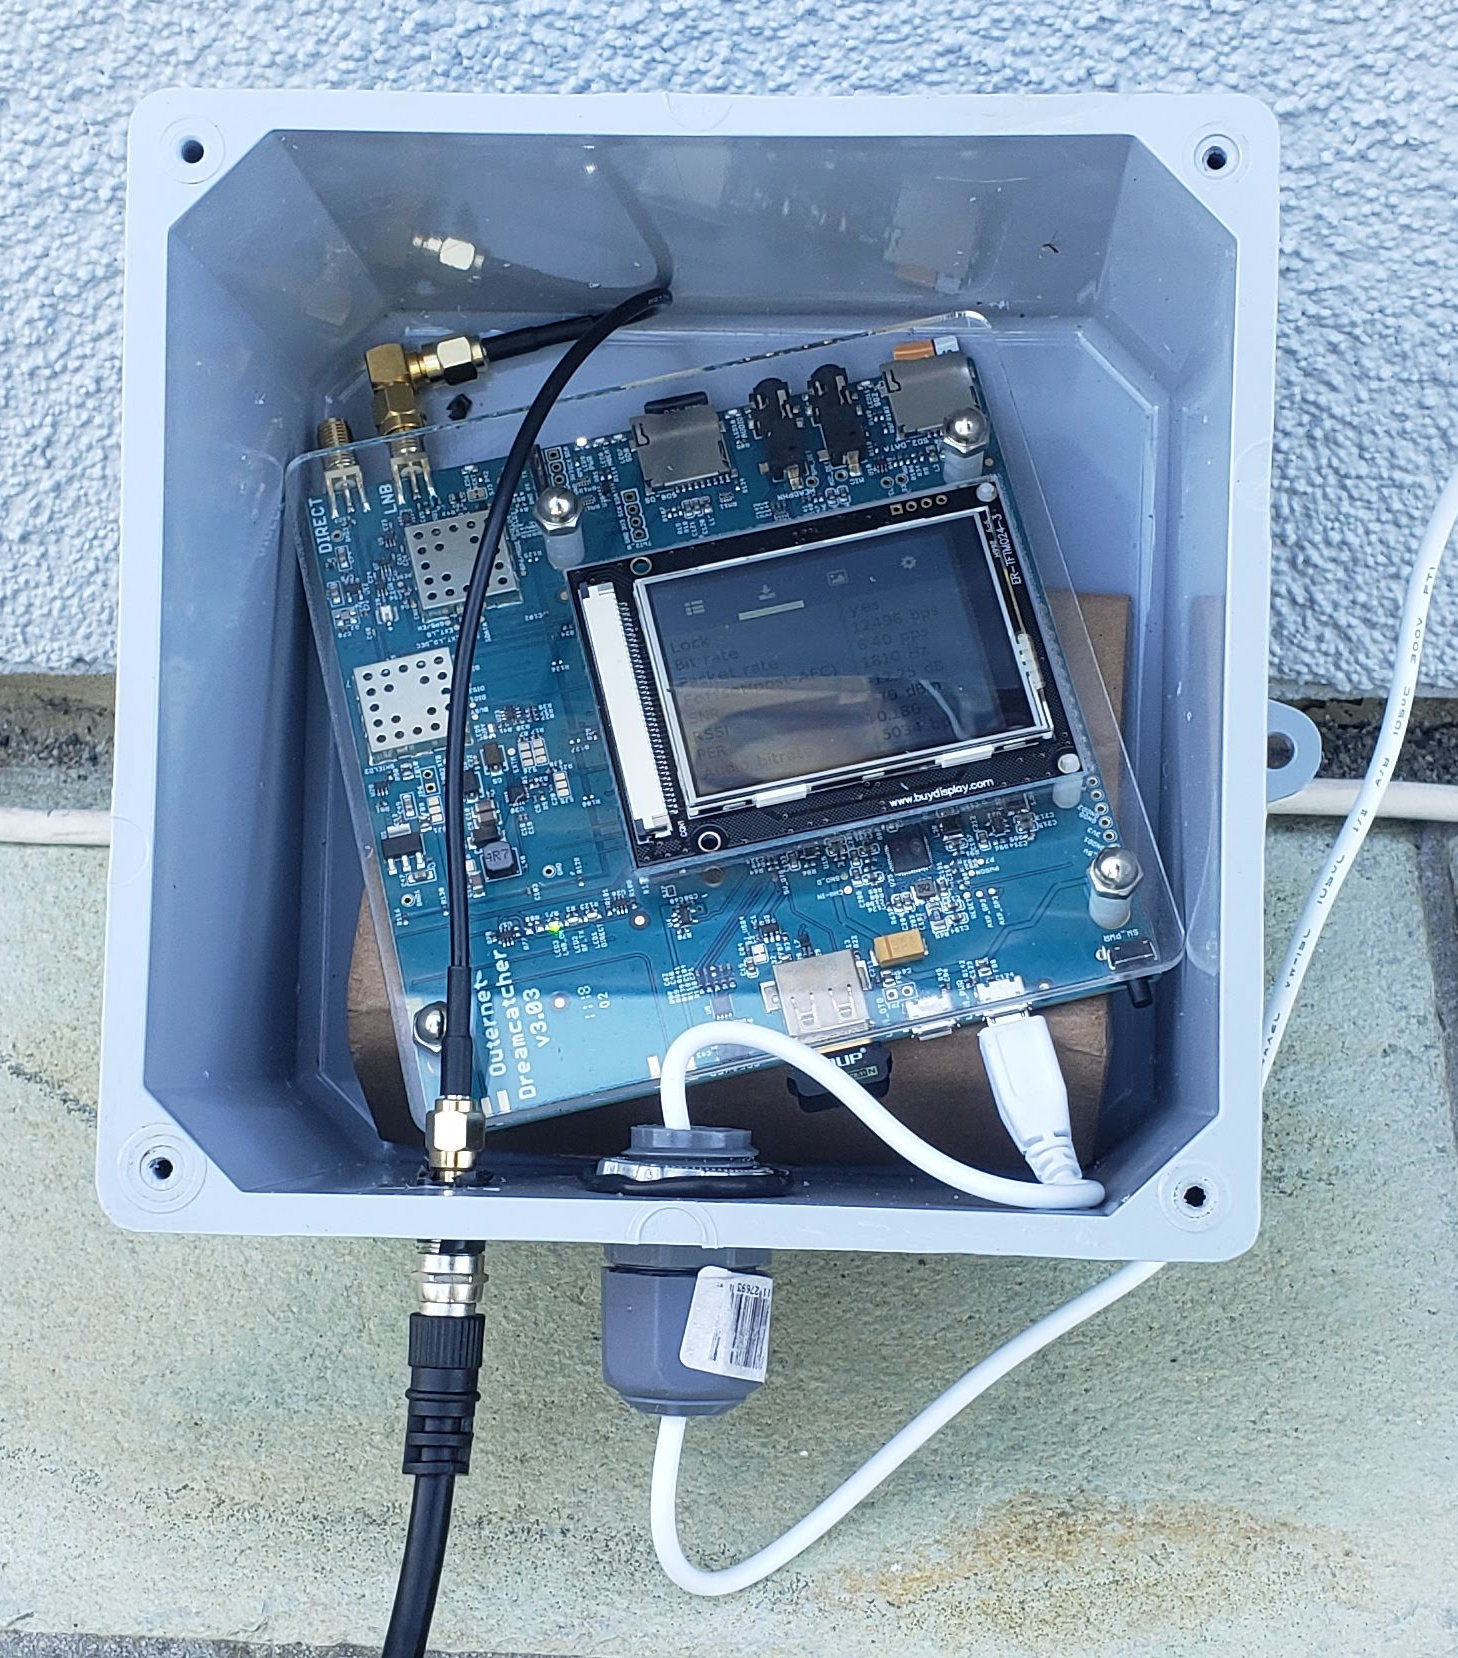
The dreamcatcher itself is sitting inside a waterproof 6x6x4" junction box. Power comes through a screw-down strain relief which has a silicone ring inside a collet that can be tightened as needed. It gets plenty tight enough around a 2.5A Raspberry Pi 3 power supply cable. For the RF path, I just drilled a 7/16 hole, put a wrap of electrical tape around the SMA-UHF connector and pounded it into the hole. I might put on a second one of those strain relief passthroughs to waterproof it later.
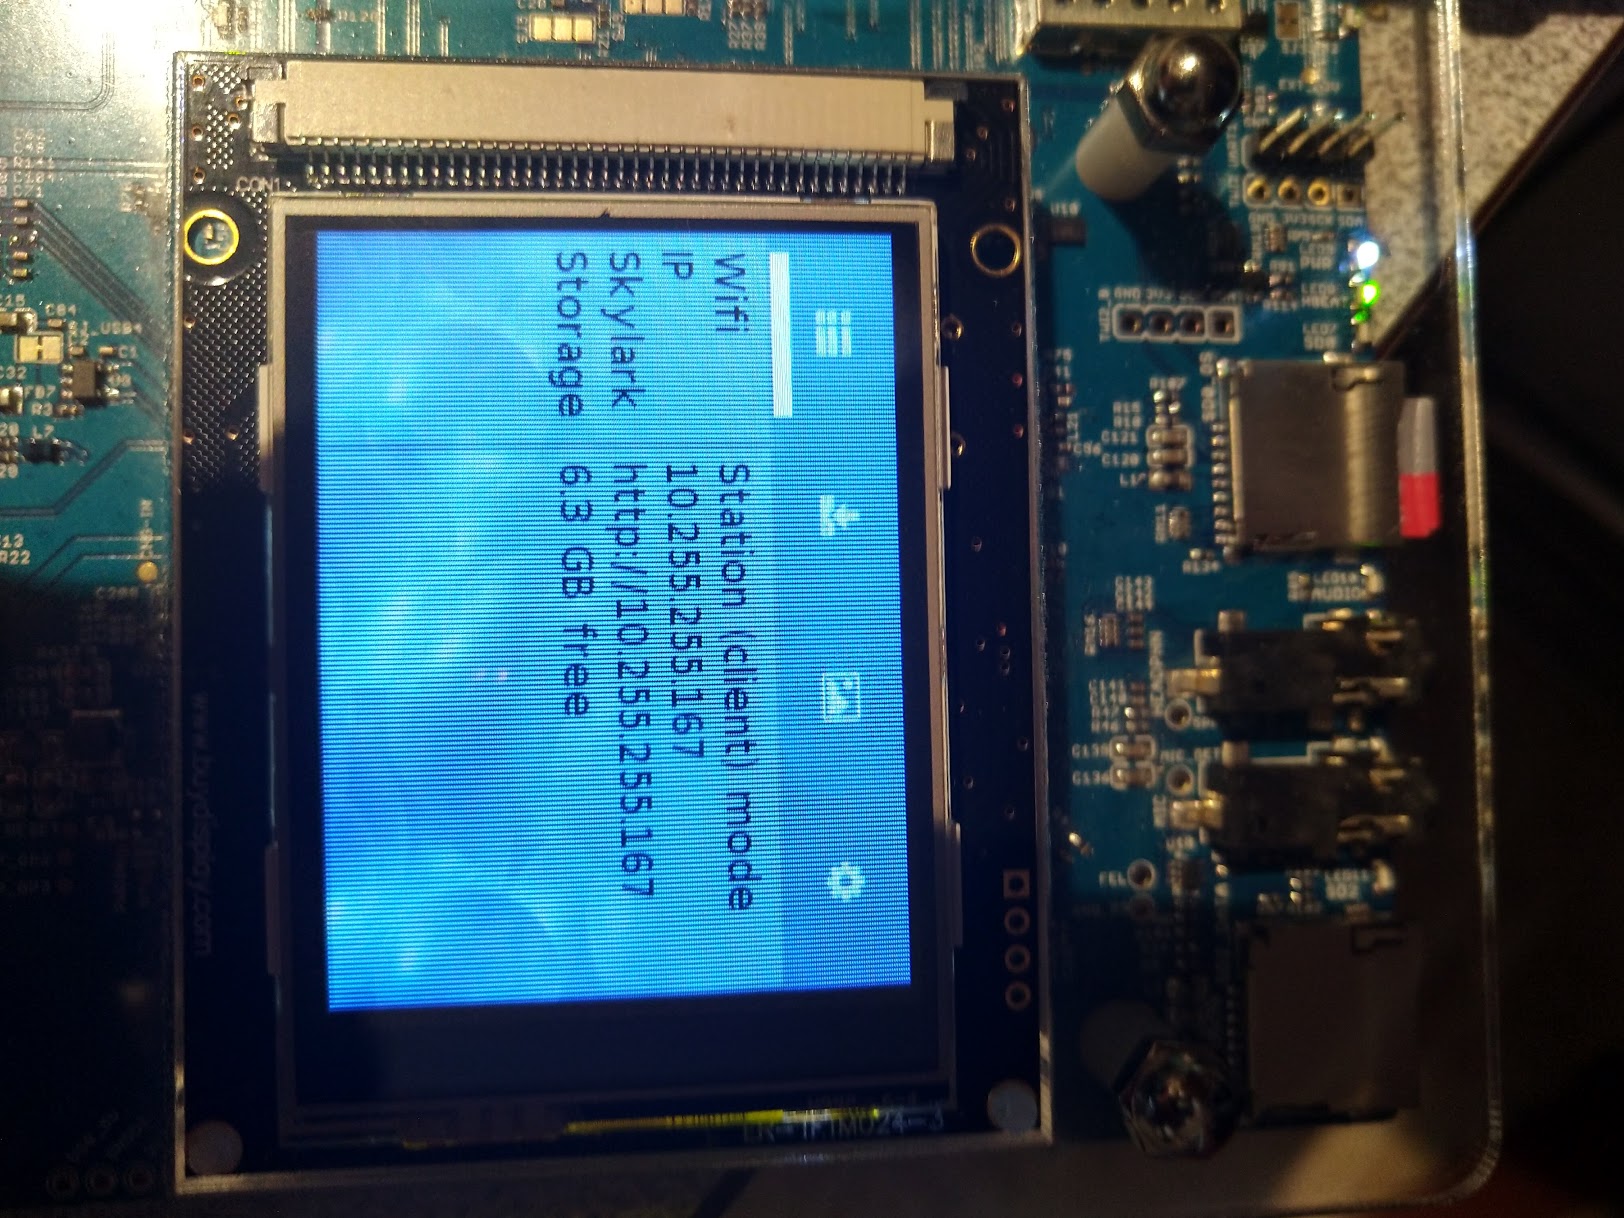
It would have been nice to get an 8x8x3 box, so I just bent the LNB input SMA with a 90 degree adapter. I couldn’t be bothered to put a clear window on since I can just hit the statistics API over the air.
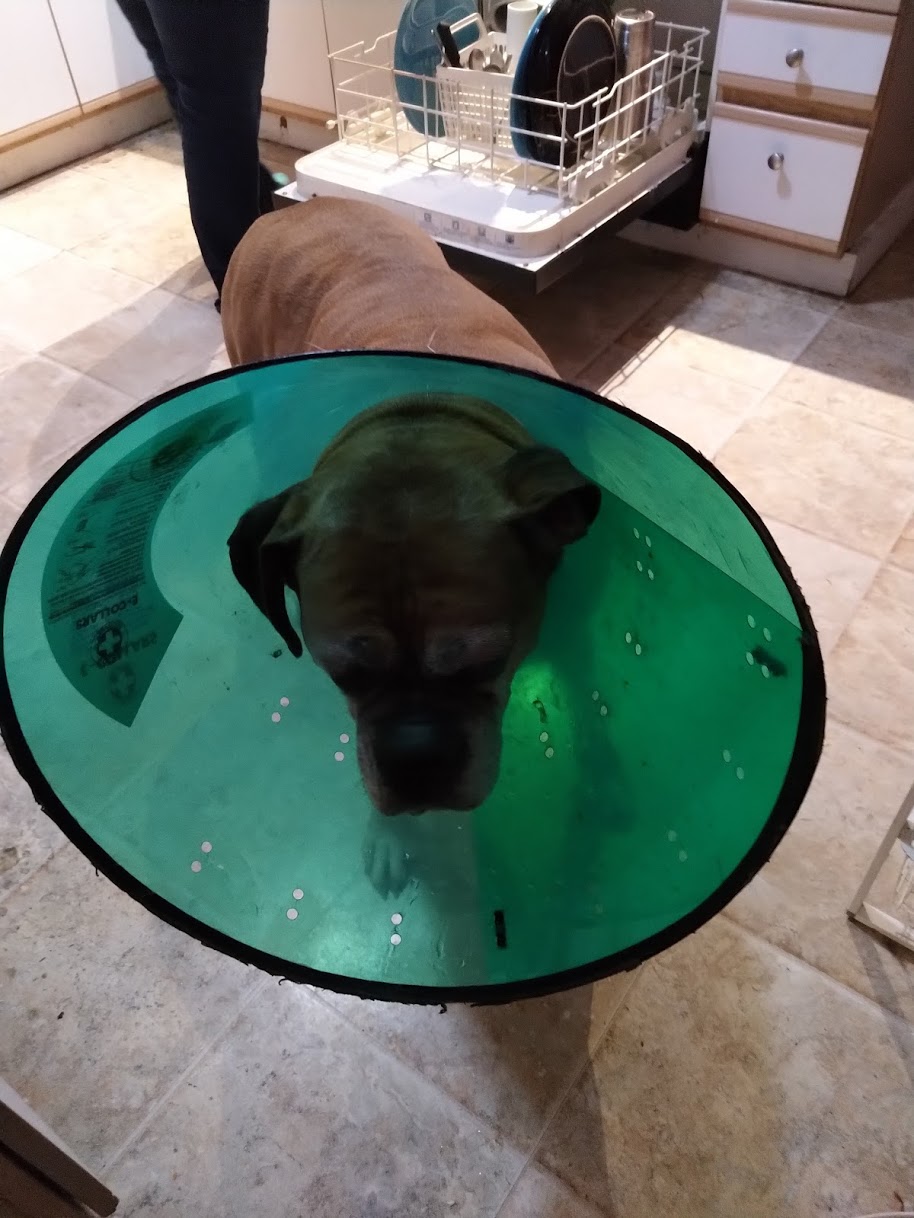
Talk about a lash-up! Got mine screwed to the gate post looking through a gap in the trees that only just exposes SES-2. Have also started messing with cones including the dog’s one - it works!!!